How to use the Section Zoom tool to add impact to your PowerPoint presentations

If you want to take your presentation slides up a level, this step-by-step tutorial will show you how to use the Section Zoom tool to add more impact to your presentation! If you prefer to watch the video showing you how to set up this tool, scroll to the end of this post.
Picture this; in PowerPoint you have created a ‘main’ slide that headlines the points you plan to cover (e.g. an agenda slide). You then ask your audience which headline they would like to cover first. You click on the headline they have chosen, and jump to the slides in that section, before returning back to the ‘main’ slide. This means you can go through your presentation in any order, or even choose to skip parts that are not relevant.
Well, the Section Zoom feature in PowerPoint allows you to present your content in this non-linear way. This creates a more interactive feel to your slides, and will help you tailor your presentation specifically to your audience.
One thing to note though is that the full Zoom feature is only available in Microsoft 365 and PowerPoint version 2019 onwards.
How to set up Section Zoom
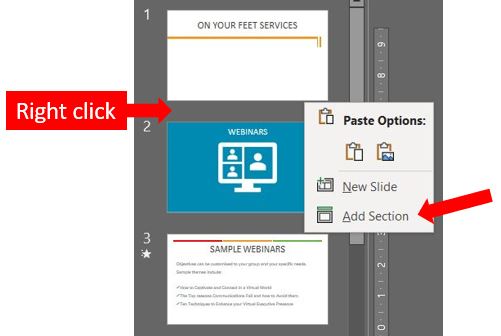
Once your slides are created, you will need to set up sections. To do this, right click between the slides where you want the section to start and select Add Section…
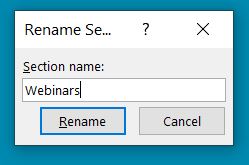
Give the section a name and click Rename…
Repeat the process for all the sections you want to insert. Once complete, go back into your ‘main’ slide where you want to include the section zoom links. Click on the Insert tab on the ribbon, click on Zoom, and select Section Zoom…
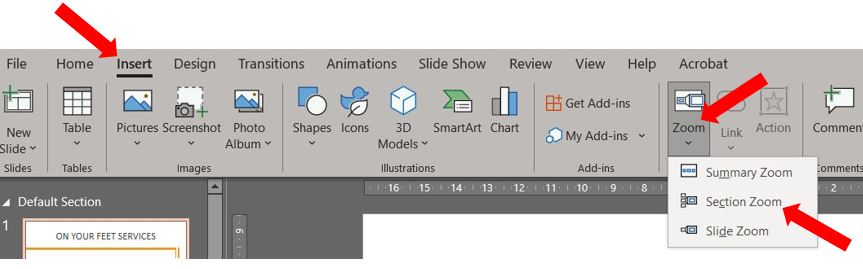
(Please note: If you are using PowerPoint version 2019 you need to click Insert –> Links –> Zoom –> Section Zoom)
Choose the sections that you want to include on the zoom slide and click Insert…

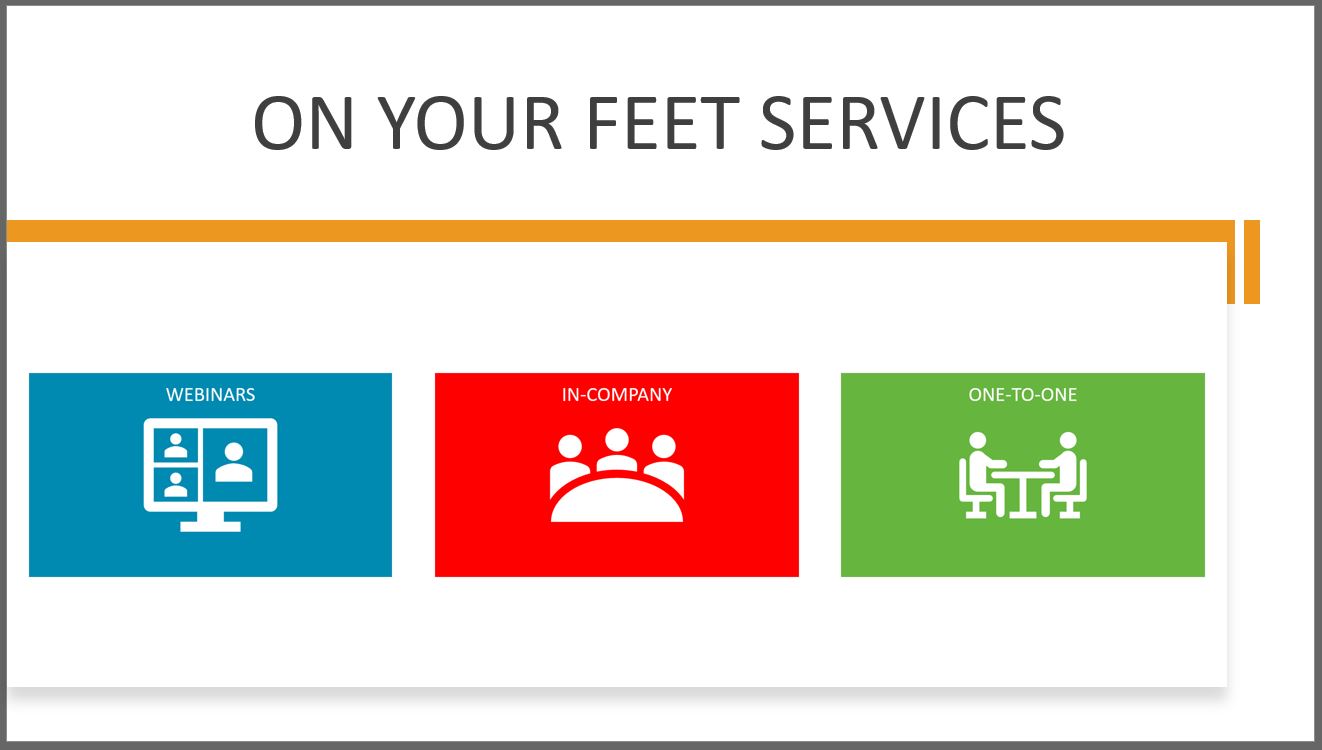
The thumbnail of the first slide of each chosen section will now appear in this slide. They typically appear on top of each other – you can reposition and/or resize them if you want to…
Zoom options
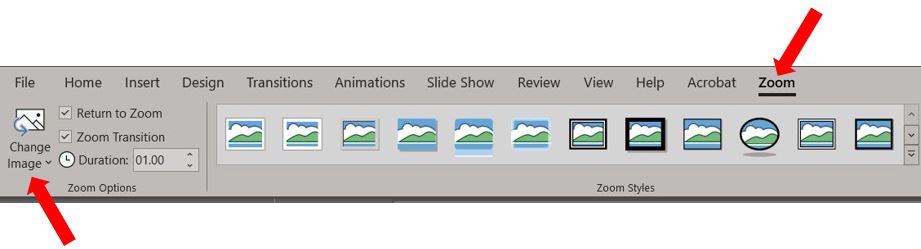
Click on any of the images you’ve just inserted and you’ll see a Zoom tab appear on the ribbon, this is where all of the zoom formatting options are located…

Over on the far left side is the Zoom Options section, the Return to Zoom box is already ticked by default, this means when you’re in the slide show it will automatically return to the ‘main’ slide after the final slide in the section you’re presenting…

This section is also where you choose whether to use the Zoom Transition, and you can also change the length (in seconds) of the transition.
How to change the image
You can change the image for each zoom link if you don’t want to use the actual snapshot of the slide. To do this, first click on the image you want to change, go into the Zoom tab on the ribbon, and click on Change Image in the Zoom Options section on the left hand side…
Choose whether you want to use an image from a file saved on your PC, a stock image, an online image, or an icon from the library…
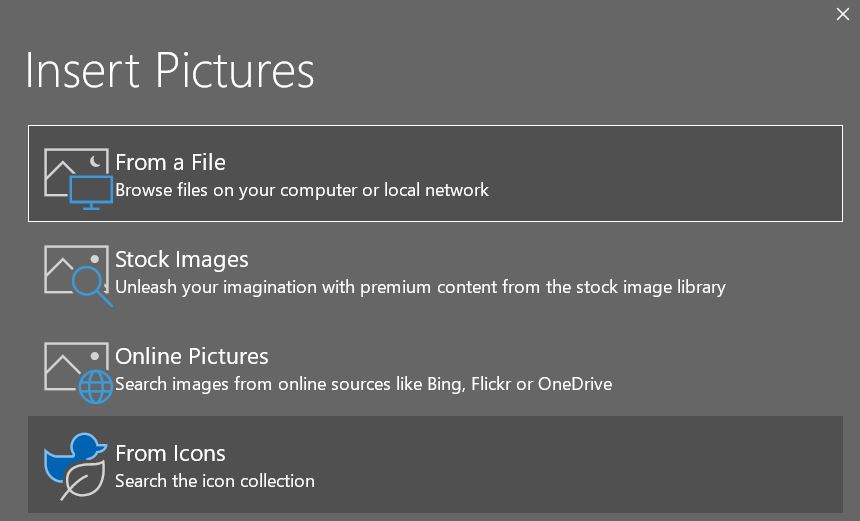
(Please note: If you are using PowerPoint version 2019 you won’t have the option of Stock Images)
In this example, we’ll keep the thumbnail images used. If you do change the image, this will then be displayed on the ‘main’ slide and will be clicked in the slide show to link into each section.
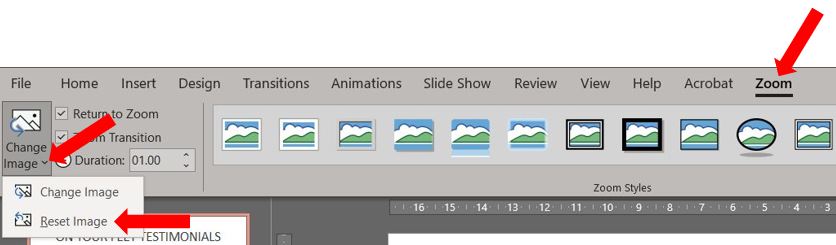
If you want to change the images back at any time, click on the image, go to the Zoom tab on the ribbon, click on the drop down arrow next to Change Image over on the left hand side, and select Reset Image…
How to remove the image background
If the ‘main’ slide containing the zoom links has a more detailed background, you can remove the background of the zoom thumbnail image, so it blends in with the slide. Below you can see a slide with a desk background. The 3 section zoom thumbnail images now look a bit odd on this background…

If you click on one of the thumbnails, go to the Zoom tab on the ribbon, you’ll see a button called Zoom Background…
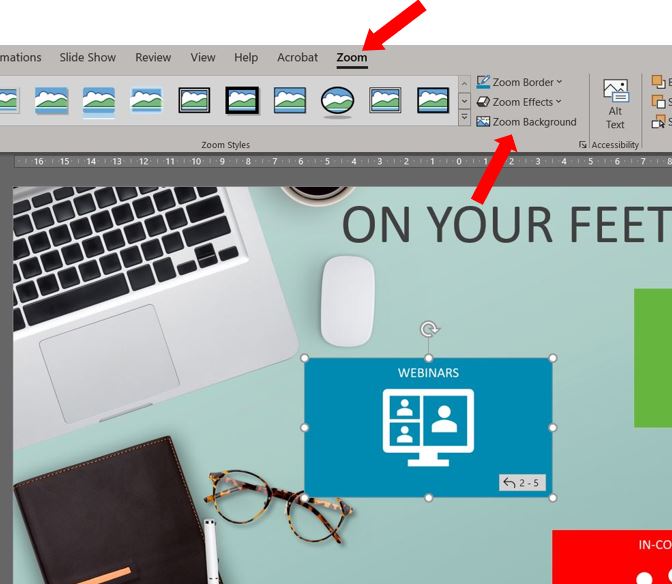
Click on Zoom Background and it will hide the background of the zoom image and use the background of the main slide instead. Repeat the process for the remaining images…
![]()
You can be as creative as you wish, having the zoom link images different sizes, rotating them slightly, or using the options under Zoom Effects (shadow, reflection etc). However, remember you don’t want the slide to be too distracting!
Section changes
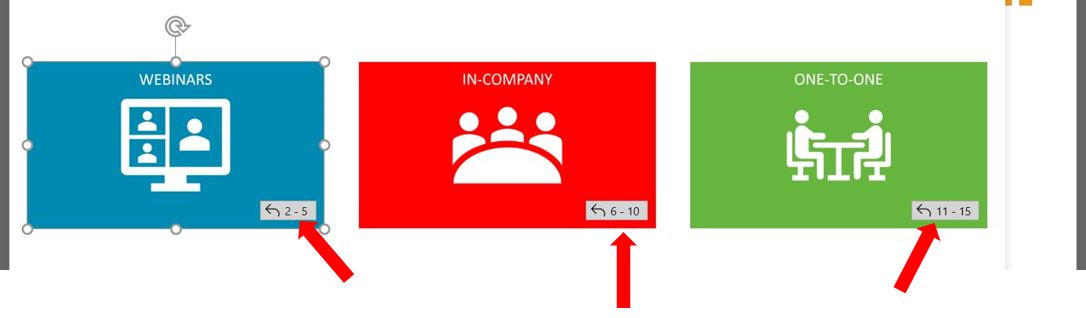
Back on the ‘main’ slide, when you click on one of the images and go to the Zoom tab on the ribbon, you’ll notice each image now shows the slide numbers contained in each section…
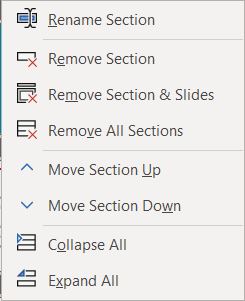
In the thumbnail pane, if you right click on a section name, a list of options appears where you can rename it, remove it, move the sections up or down etc…
Any changes you make here will automatically be reflected on the ‘main’ slide (if the section is included in the links on that slide).
Also, any changes you make within the section, e.g. adding more slides or removing any, will automatically update on the ‘main’ slide (again if the section is linked on that slide).
If you remove a section that is linked, remember to remove the image on the ‘main’ slide otherwise it is replaced with a broken link icon…

If you want to check the zoom links are working correctly at any time, press F5 to view the slide show.
Now you are confident with the layout of your slides, it’s time to move on to the actual delivery of your presentation. If you or your team would like help with this, please get in touch and ask about our 1 and 2 day Virtual Presentation Skills masterclasses.
